


Buy Custom Light Gun Accessory Kits: 2026 Buyer's Guide
Table of Contents
What You Actually Get in Custom Light Gun Kits
Shells, Mounting Hardware and Electronics
3D Printed Light Gun Shells: Materials, Finish and Durability
How to Build an Alien Pulse Rifle Light Gun From a Kit
Best Light Gun Accessories for PC Gaming Setups
Sensor Technologies and Tracking Accuracy Compared
Input Latency, Refresh Rate and What Slows a Build Down
Calibration, Troubleshooting and Software Setup
Frequently Asked Questions
Last Updated: September 28, 2026
What You Actually Get in Custom Light Gun Kits
When you buy custom light gun accessory kits, you're not just buying plastic shells. You're buying a complete hardware conversion package.
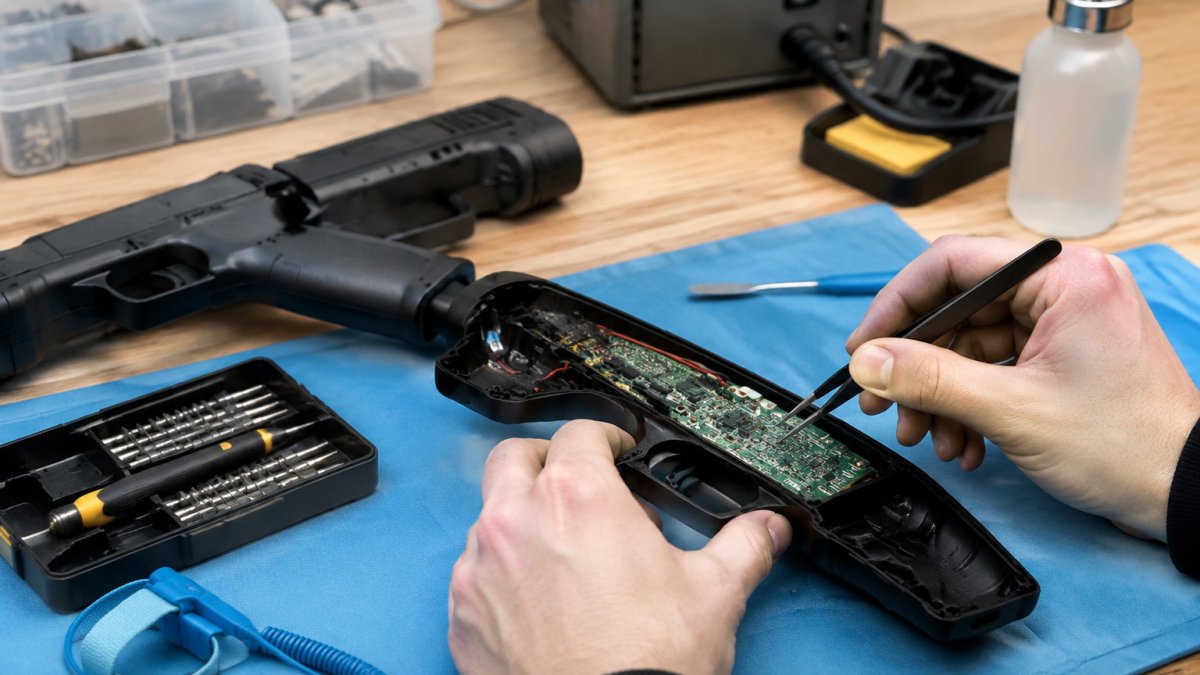
Most kits break down into parts. The shell is the outer body, usually 3D printed, shaped like a pulse rifle or shotgun. The mounting hardware holds your original board, camera, and wiring in place.
This guide walks through exactly what separates a kit that survives weekly use from one that cracks in a month. We'll cover materials, sensor tech, latency, and calibration, so you can choose with confidence.
Key Takeaway The shell is the visible part, but the mounting hardware and wiring harness decide whether your build actually works. Check those before you check the paint job.

Shells, Mounting Hardware and Electronics
A complete kit should include a two-piece shell, screws and inserts, and a trigger mechanism. Missing any of these means a second order and a stalled build.
What most guides miss is the tolerance question. A shell that's a fraction too tight will flex the board every time you pull the trigger, and that flex eventually cracks solder joints.
3D Printed Light Gun Shells: Materials, Finish and Durability
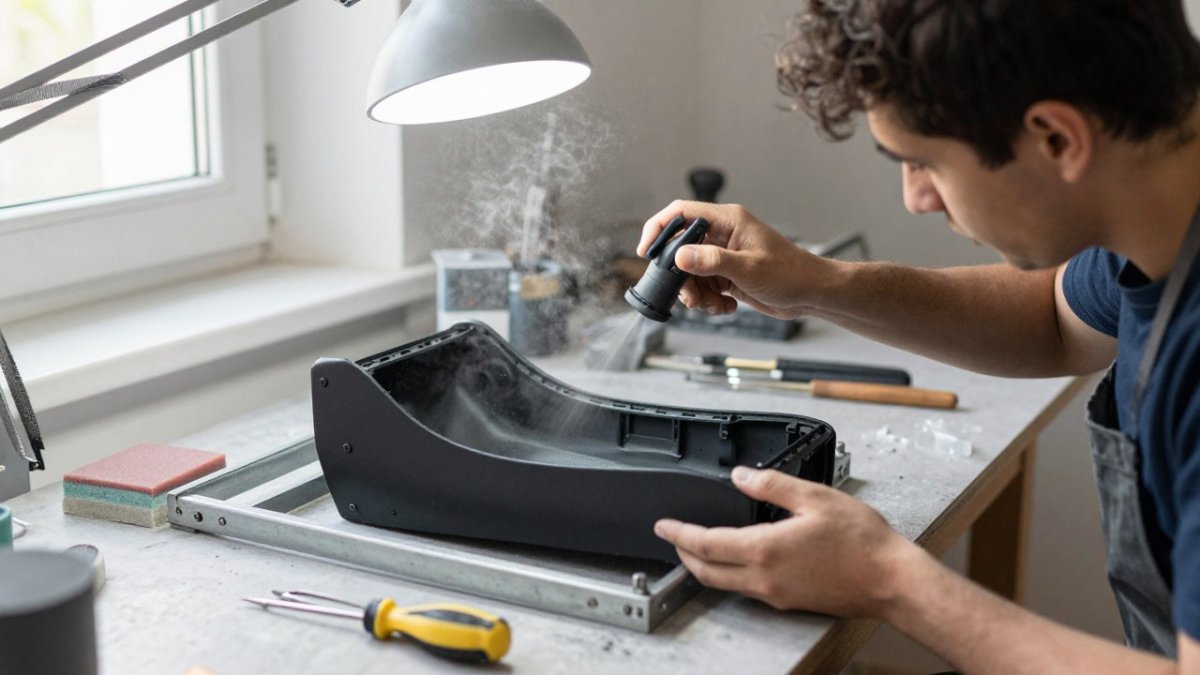
3D printed light gun shells are the outer bodies that replace your stock gun casing. The material matters more than the finish, because it determines how the shell handles drops, heat, and repeated trigger pulls.
How to Build an Alien Pulse Rifle Light Gun From a Kit
Building an alien pulse rifle light gun from a kit takes most people an evening. The process is straightforward if you work slowly and keep your original hardware intact.
Here's the sequence:
Strip your donor gun. Remove the outer shell, keeping the board, camera, and wiring connected.
Test-fit the new shell. Dry-assemble before you glue or screw anything. Check trigger travel.
Mount the board. Use the supplied brackets and screws. Don't overtighten; plastic threads strip fast.
Route the wiring. Keep cables away from the trigger path so nothing pinches.
Reassemble and power on. Confirm the camera sees the sensor bar before closing the shell.
Calibrate. Run your calibration software and re-map buttons if needed.
Expected result: a working pulse rifle replica that reads the screen exactly like your original gun.
Pro Tip Photograph every step as you disassemble. Reassembly is far easier when you have a reference for which screw went where.
Best Light Gun Accessories for PC Gaming Setups
The best light gun accessories for PC gaming setups are the ones that solve a specific problem: tracking, ergonomics, or cable management. Buy for the problem, not the aesthetic.
A practical PC-focused accessory list looks like this:
Accessory | Solves | Priority |
Sensor bar mount | Consistent infrared tracking | High |
Ergonomic grip | Long-session comfort | High |
Rechargeable power bank | Cable-free play | Medium |
USB interface hub | Clean peripheral integration | Medium |
LED lighting kit | Arcade cabinet ambience | Low |
Firmware update cable | Driver installation and patches | High |
Start with the sensor bar mount and a firmware cable. Those two fix the most common setup failures. Grips and lighting come after the gun actually tracks reliably.
Steam's controller and input configuration documentation is worth reading before you map buttons, since PC setups vary widely.
Sensor Technologies and Tracking Accuracy Compared
Tracking accuracy comes down to how the gun sees the screen. Three sensor approaches dominate the market, and each has a distinct mechanism, cost profile, and failure mode.
Infrared (IR) tracking uses a sensor bar that emits IR light. The gun's camera watches the bar and calculates aim from the light pattern. This is the most common approach for modern PC and console light guns. It works on most displays, including LCD and OLED, and holds up reasonably well in bright rooms because the IR light is modulated. The trade-off: you need a bar mounted above or below the screen, and the bar's placement directly affects edge accuracy. If the bar is off-center, aim drifts at the corners.
Camera-based screen detection uses the gun's camera to read the screen edge or a marker placed on the display. This approach doesn't require a sensor bar, which makes it cleaner for single-monitor setups. However, it is more sensitive to ambient lighting and screen reflections. A glossy monitor or a nearby window can confuse the camera, causing tracking dropouts. It also tends to be more expensive because the camera and processing requirements are higher.
Legacy CRT-based systems rely on the CRT's scan rate to determine aim. The gun's sensor reads the screen's refresh cycle and calculates position from timing. This is the original arcade technology and still offers the lowest latency because there is no camera processing involved. The catch: it only works on CRT displays, which are increasingly rare. If you are building a custom kit for a retro cabinet with a CRT, a legacy-compatible board is the only way to get that authentic feel.
A common pattern among enthusiasts is to match the sensor tech to the room and display. IR tracking is the practical default for modern flat panels. Camera-based detection is best for a dedicated single-monitor setup with controlled lighting. CRT-based is for purists who already own a CRT and want the fastest possible response.
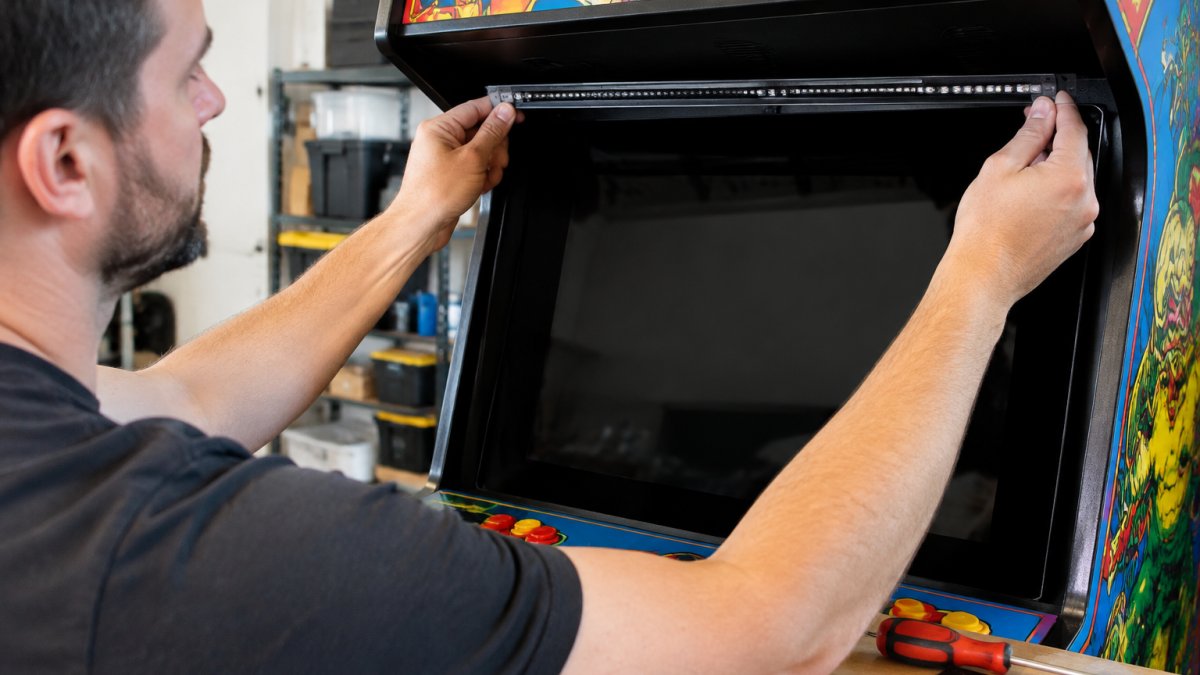
Watch Out Placing your sensor bar off-center or below the screen skews tracking at the edges. Aim drifts most at the corners, which is exactly where arcade shooters put their targets. Always center the bar and recalibrate after moving it.
When you buy custom light gun accessory kits, check which sensor technology the kit supports. The kit's mounting hardware and wiring harness must match your donor board's sensor type, or you will need adapters.
Input Latency, Refresh Rate and What Slows a Build Down
Input latency is the delay between your trigger pull and the game registering the shot. For light gun builds, this is the single most important performance metric that most buying guides ignore. A gun that tracks perfectly but adds 80 milliseconds of lag feels broken in fast arcade shooters.
Latency accumulates across the entire chain: the camera captures a frame, the board processes it, the USB interface transfers the data, the driver interprets it, and the display renders the result. Each step adds a few milliseconds. The goal is to keep the total under about 50 milliseconds for a responsive feel.
CRT-based systems have the lowest latency because the gun reads the screen's scan cycle directly. There is no camera frame buffer or image processing. Latency is typically in the single-digit milliseconds.
IR tracking adds camera capture and processing time. A typical IR gun runs 20-40 milliseconds of latency, depending on the camera's frame rate and the board's processing speed.
Camera-based screen detection has the highest latency because it must capture and analyze a full frame to find the screen edge or marker. This can add 40-80 milliseconds, especially on lower-end hardware.
A cheap USB hub sharing bandwidth with other peripherals. Plug the gun directly into a rear USB port on your PC. Front-panel ports and unpowered hubs often introduce polling delays.
Outdated firmware that hasn't been patched for your OS. Firmware updates frequently include latency improvements and bug fixes for specific emulators.
A low refresh rate display, which caps how fast the gun can re-read position. A 60 Hz monitor updates every 16.7 milliseconds; a 144 Hz monitor updates every 6.9 milliseconds. Higher refresh rates reduce the display-side latency and make tracking feel smoother.
Pro Tip If your gun feels laggy, test it on a different PC before replacing hardware. The problem is often the USB controller or a background process, not the gun itself.
The unique angle here is that latency is not just about the gun. It is a system property. When you buy custom light gun accessory kits, look for kits that include a direct-wired USB connection rather than a wireless dongle, and check whether the kit's board supports firmware updates.
Calibration, Troubleshooting and Software Setup
Calibration is where most builds either click or fall apart. The gun needs to know exactly where the screen edges are before your aim lines up.
Common fixes:
Gun not detected: check driver installation and try a different USB port
Aim off at edges: reposition the sensor bar and recalibrate
Trigger not registering: inspect the trigger mechanism for a pinched wire
Tracking drops out: remove reflective surfaces near the screen
Frequently Asked Questions
How do I know a custom kit will fit my Sinden or Retro Shooter light gun without damaging the electronics?
Fit comes down to the kit being designed for your specific controller model and revision. Reputable makers list compatibility per model and supply mounting hardware that matches the original screw points, so the electronics board and trigger mechanism stay untouched. Ask the seller to confirm your exact model before ordering, and check whether the shell is a direct drop-in or needs the original chassis trimmed. Kits built for Retro Shooter hardware are usually drop-in, while generic shells often need adaptation.
Are 3D printed light gun accessories durable enough for regular arcade gaming?
Durability depends on material and print settings. A well-made shell should handle regular play, not just sit on a shelf.
Can I build an Aliens Pulse Rifle light gun from a kit if I'm not handy with tools?
Most pulse rifle kits are designed as drop-in conversions: you open the original gun, lift out the board and trigger assembly, seat them in the new shell, and refit the screws. Basic kits need a small screwdriver and no soldering. The trickiest part is usually routing cables so nothing pinches when the shell closes. If you can follow a video walkthrough and keep track of screws, you can manage a standard kit. Ask the seller for installation footage before you commit.
What should I look for in the best light gun accessories for PC gaming?
Prioritise compatibility first: confirm the accessory works with your gun model, your operating system, and the emulator or game you play. Then check tracking accuracy. Input latency matters too. Finally, look at ergonomic grip and button mapping, because a shell that fits your hand properly keeps long sessions comfortable.
Shop
Comments